Using Bookable Schedule across time zones
In this article
- How do I change the primary time zone for my Bookable Schedule?
- How can I show multiple time zones for my Bookable Schedule?
How do I change the primary time zone for my Bookable Schedule?
We will automatically set your primary time zone based on the time zone of your browser, but if you need to change the primary time zone for your Bookable Schedule, you can do so by editing it from the Manage Page.


How can I show multiple time zones for my Bookable Schedule?
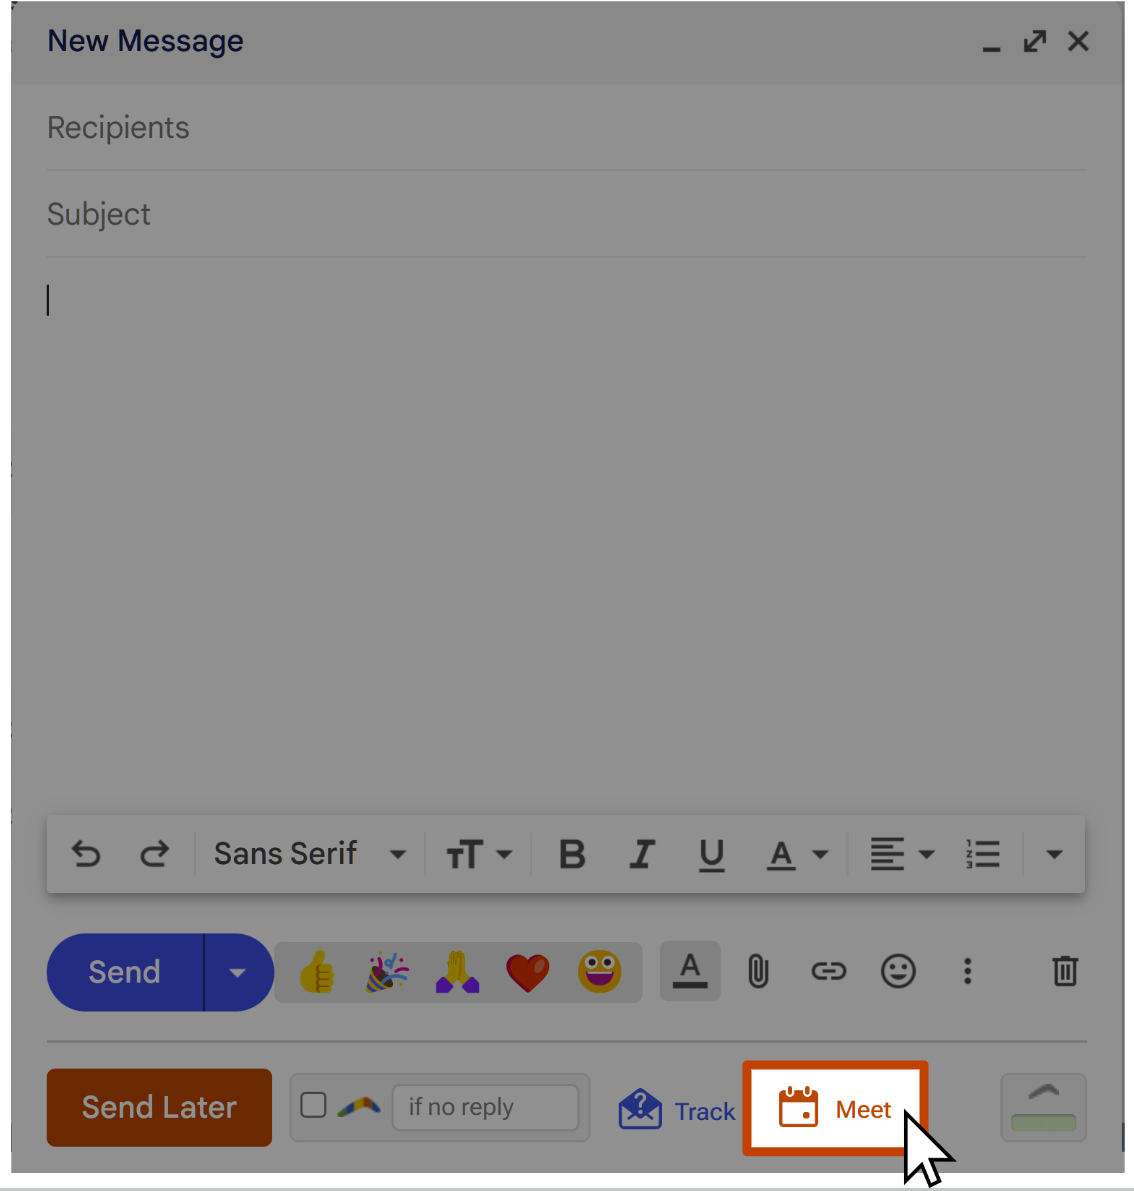
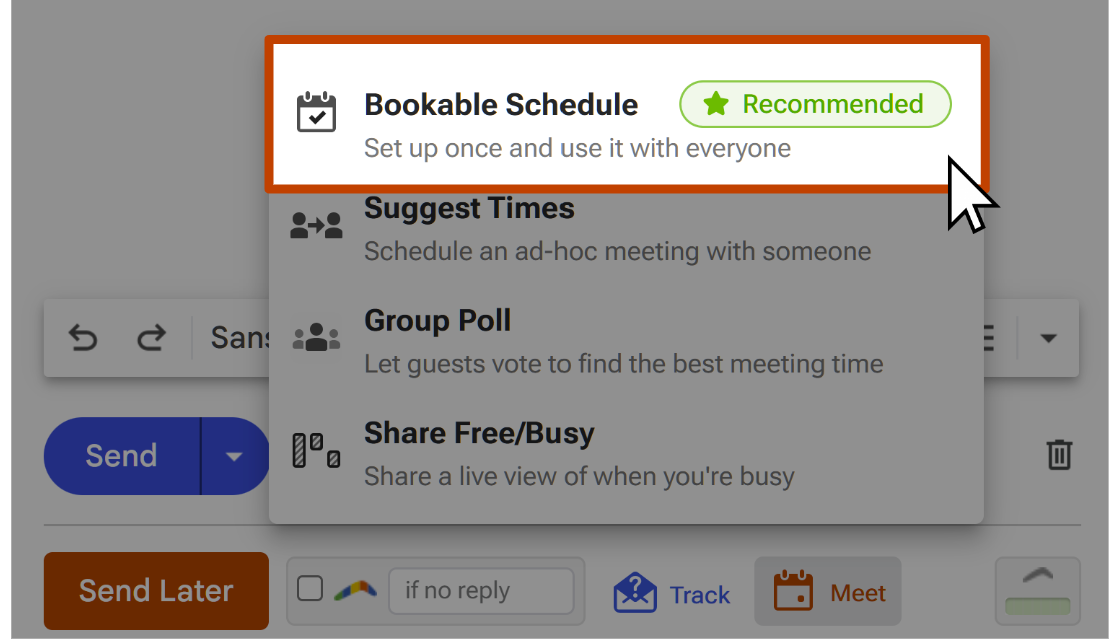
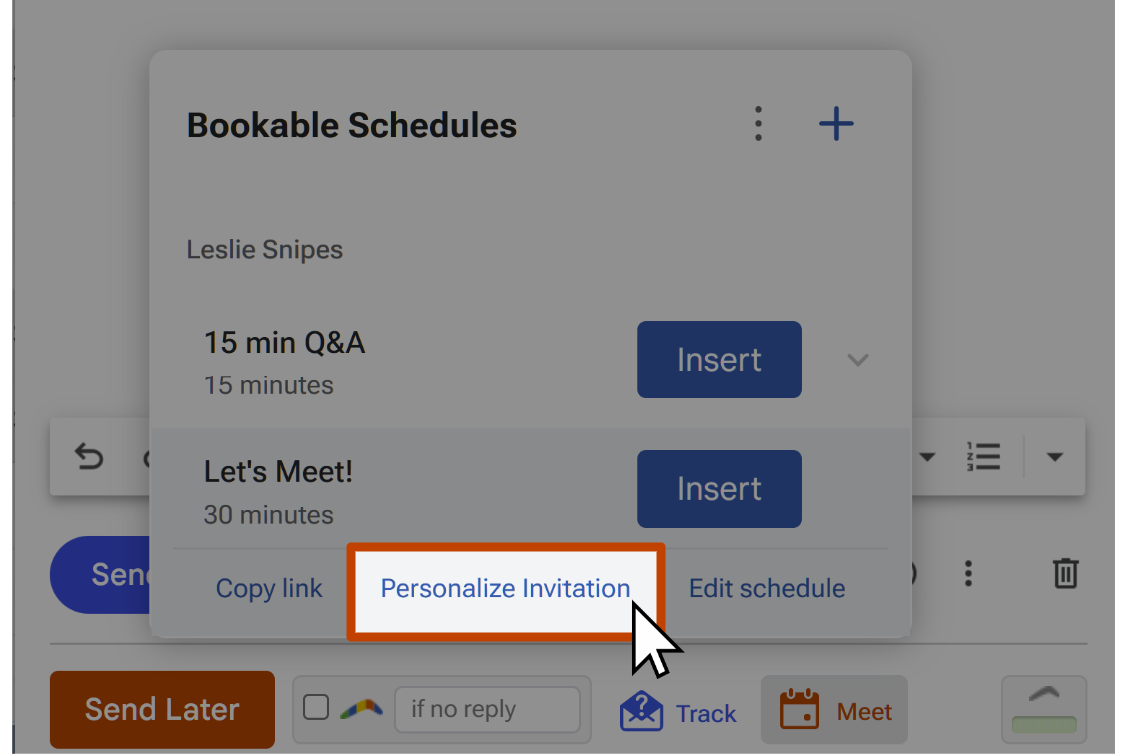
When you want to show a secondary time zone for the Bookable Schedule, you can do customize it when inserting the Bookable Schedule.
- 4
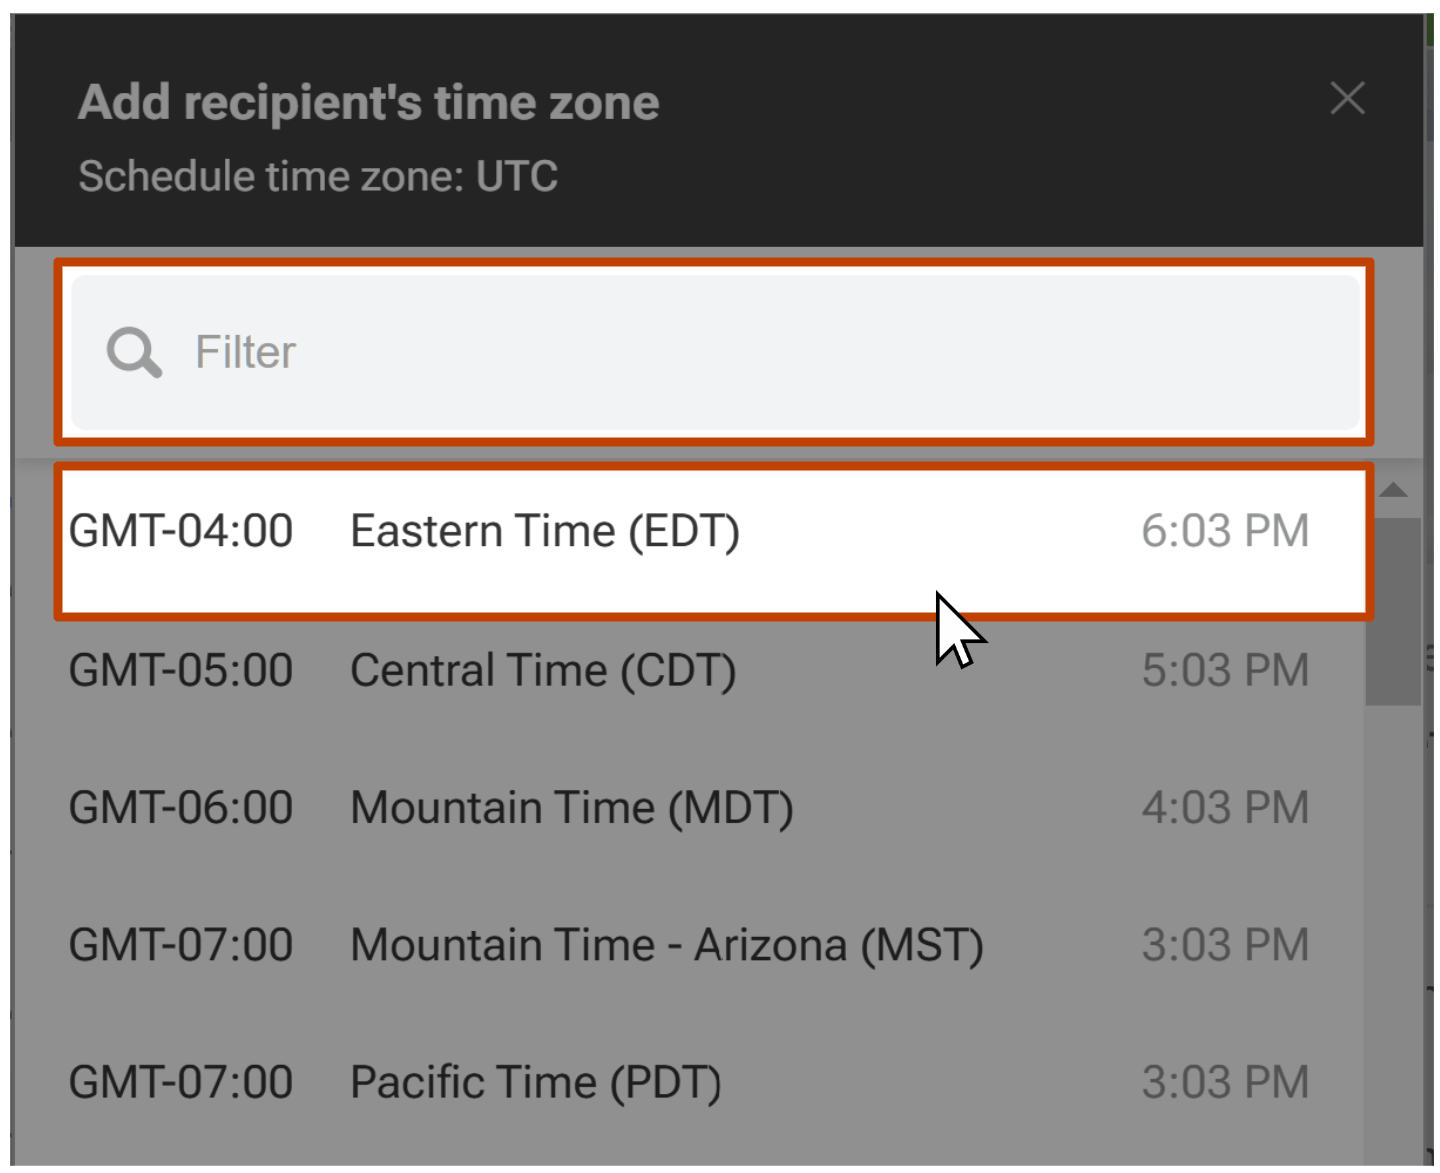
- Click on Add Recipient's Time Zone.
- 5
- Filter for the time zone (if needed), and then select their time zone.
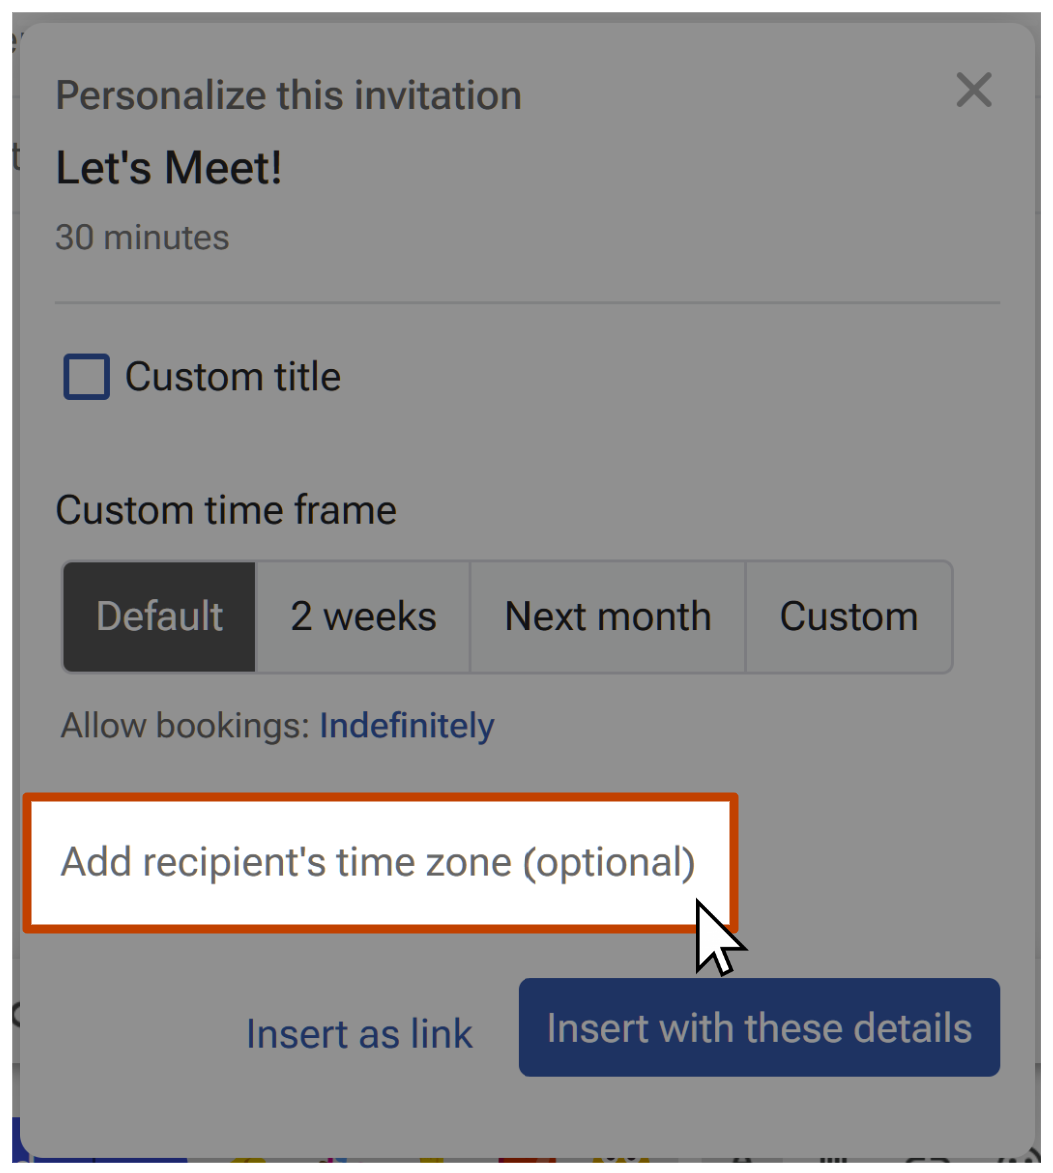
- 6
- Click on Insert with these details to insert a Magic Live Calendar in the email with the updated details (or, you can Insert as Link).
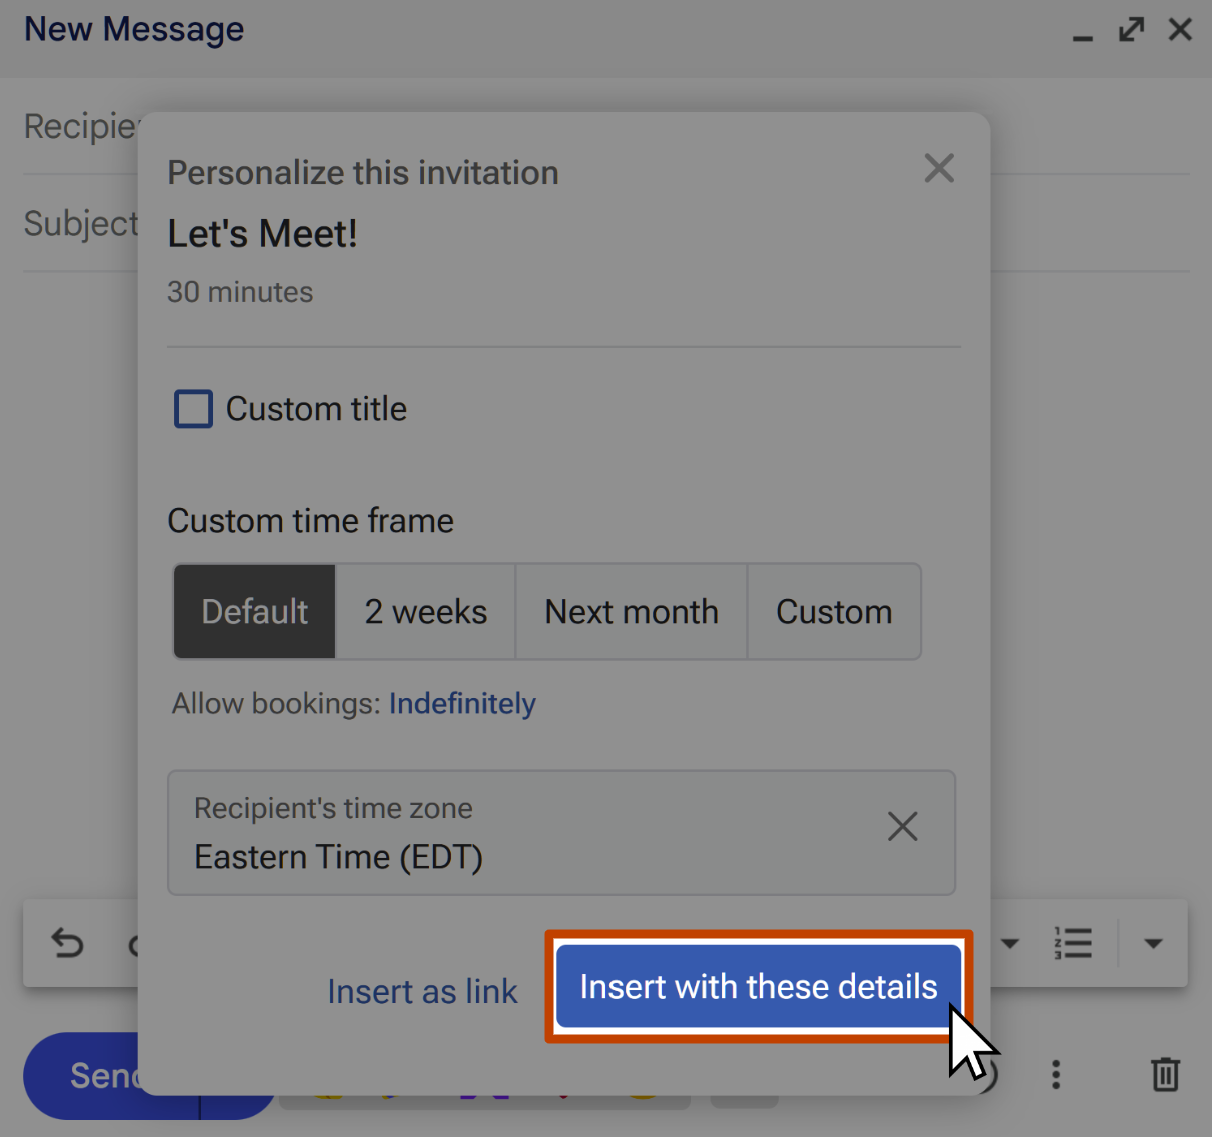
Your Bookable Schedule will be inserted into your email, and will show the available meeting times in both your primary time zone, and the recipient's time zone. If you selected
